
Add Custom Domain
Before you can start creating shortlinks and QR codes - you need to add your domain to ownlink.app so that traffic could be routed properly. If you already have purchased your domain, proceed with the steps below to add and verify it:
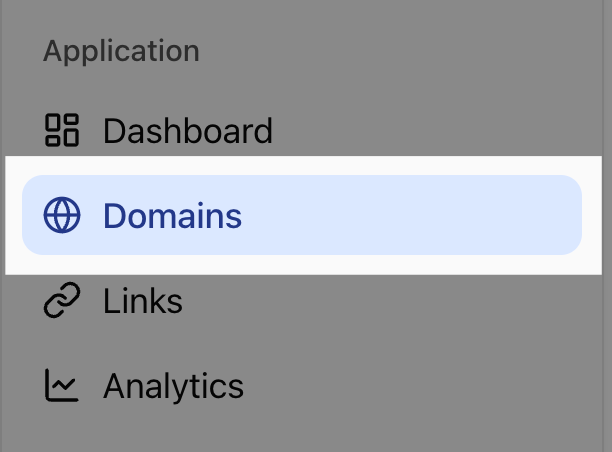
Find Section "Domains" and click -> "Add Domain"

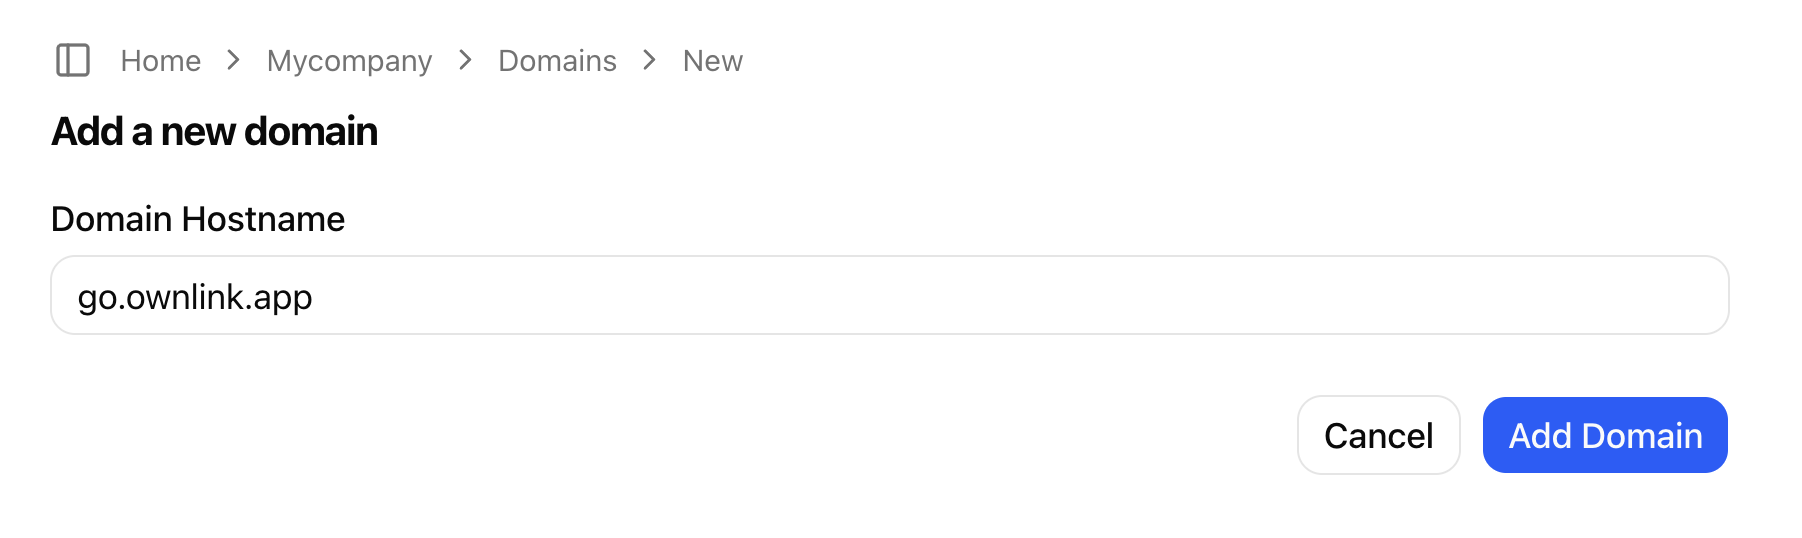
Enter your domain and click "Add"
Important: Selected domain or sub-domain shouldn't host any website at the moment, otherwise adding DNS records would break your existing site. E.g. if you want to use "yourcompany.com" but it already points to your website - you could add a subdomain "go.yourcompany.com" or register new top-level domain, e.g. "your.com" to be used for short links.
Add DNS records
You will be redirected to a domain details page with DNS configuration instructions.
A - If your domain name servers point to Cloudflare you'll have an option to update DNS records automatically through Cloudflare.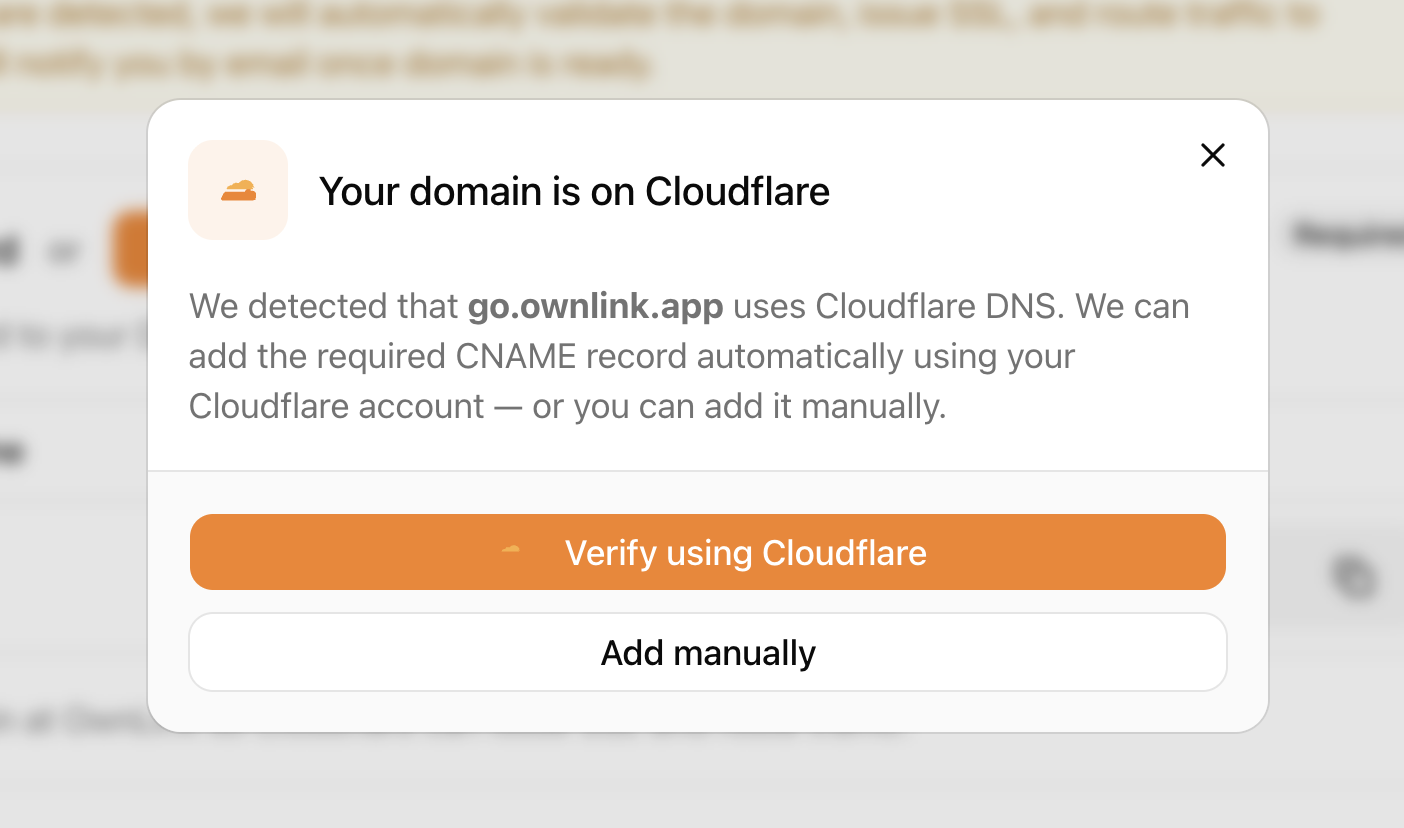
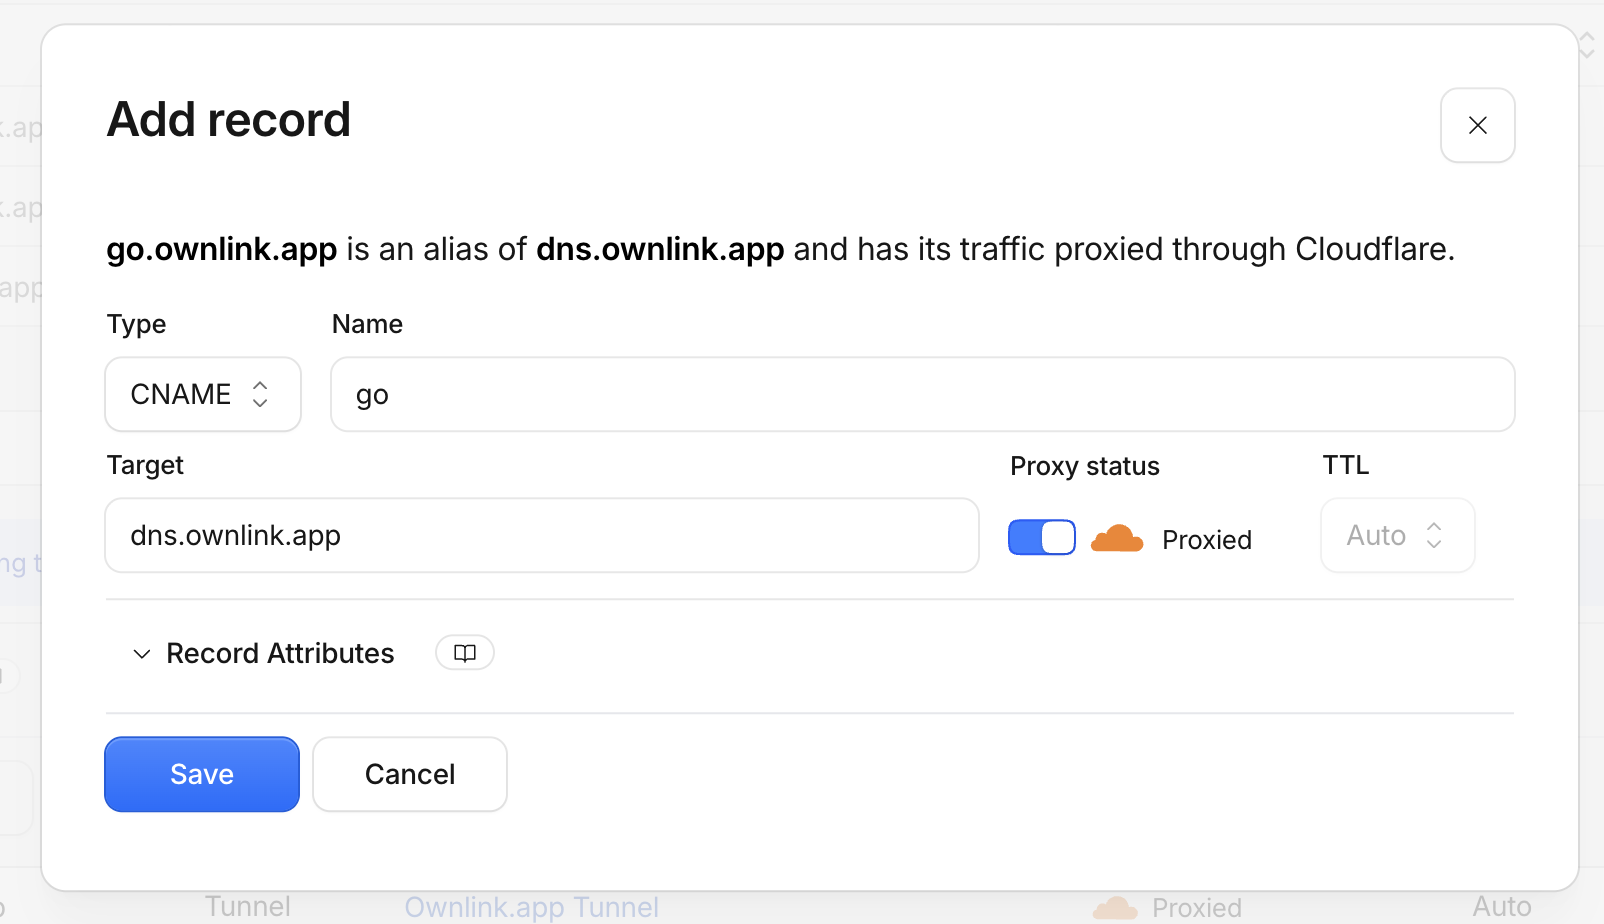
B - To add records manually - open your domain DNS settings on your registrar or name server provider (e.g. Namecheap, GoDaddy, etc) and add required DNS records.

Usually it would be a CNAME pointing to dns.ownlink.app for your sub-domain or main domain (if registrar supports CNAME-flattening).
Wait until domain is verified & SSL issued
It may take up to 24h for the new CNAME records to be propagated
- You can check domain status immediately by clicking "Refresh" button
- Automatic checks are running in the background and you'll be notified by email once your domain is ready to be used.
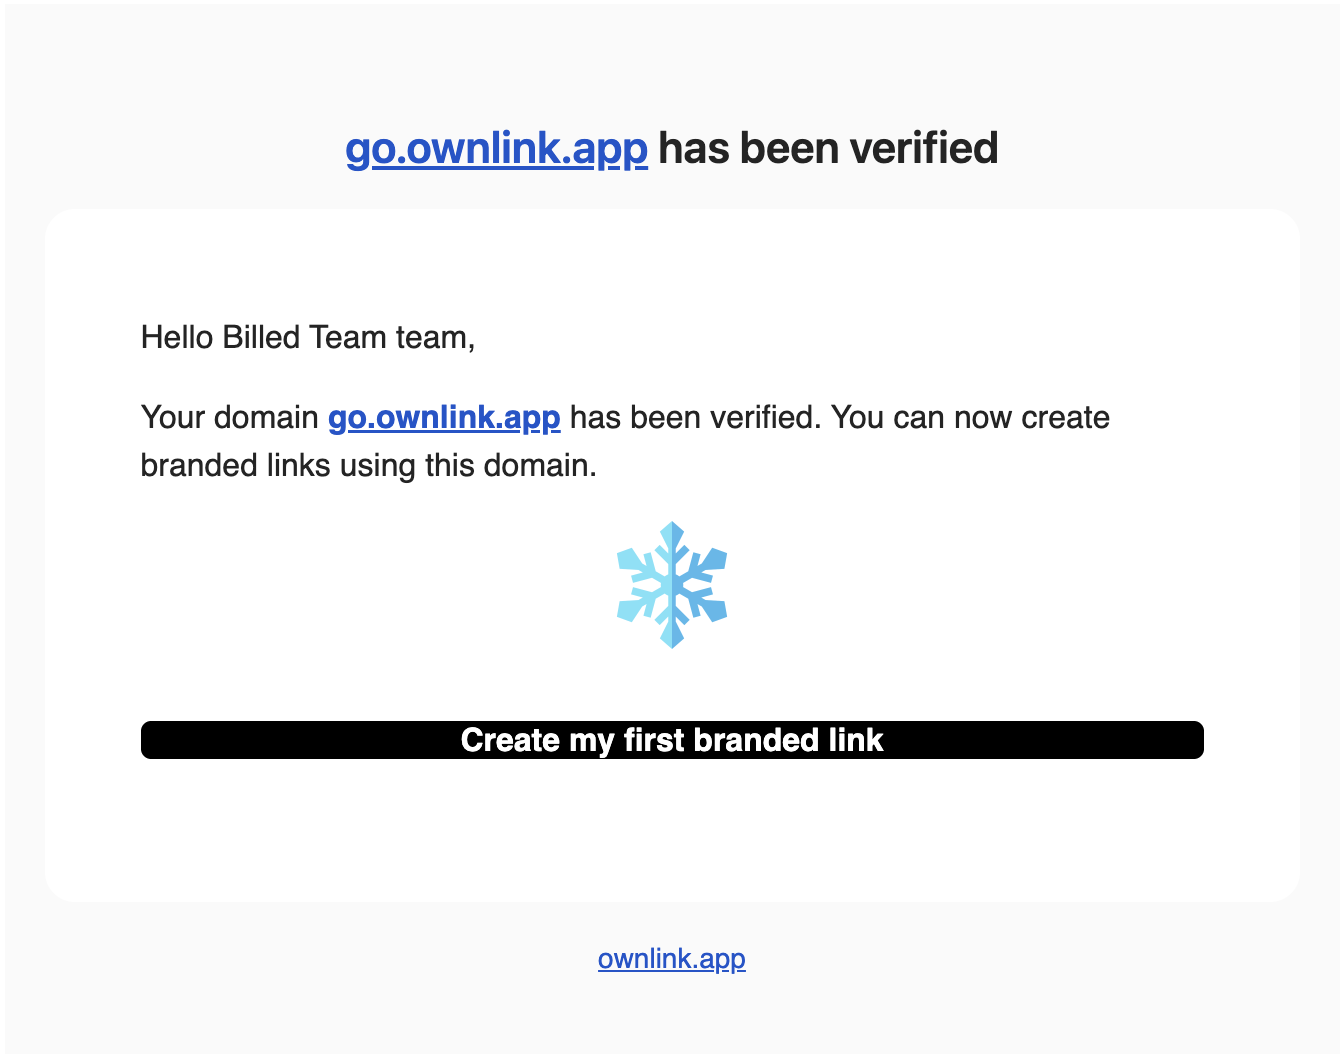
After everything has been set up - you'll see confirmed status on domain details page:

Ready to create shortlinks & QR codes
Now you will be able to select your newly verified domain when creating shortlinks or QR codes.